|
Prep and Welding LH
side
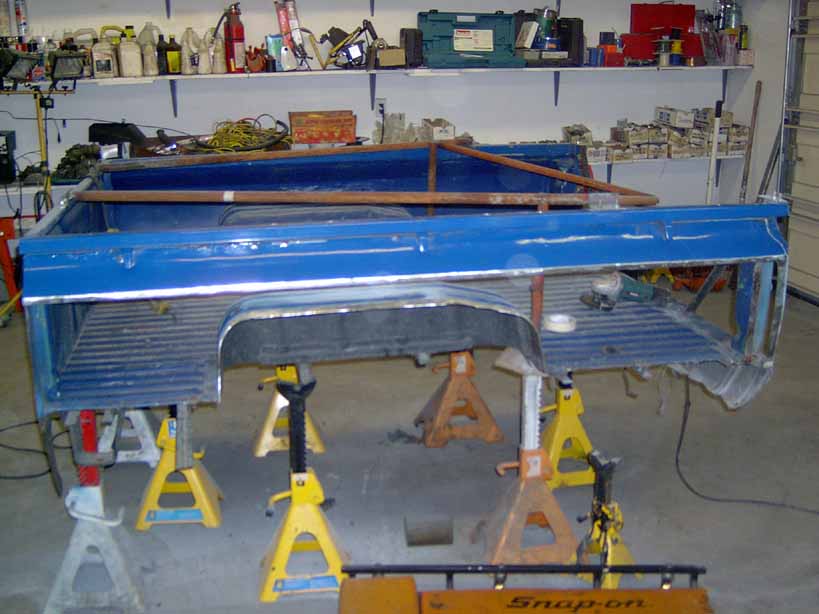
The left side box skin is removed using
zip discs, aviation snips, drill, reciprocating saw, hammer,
chisel, steel toe boots ...
|
|
The area where the new skin attaches is prepped.
Everything on this box (or any auto thats made of metal) is spot
welded and bolted together. This means there must be a flange
that the panel is spot welded to. In this case, that flange varies
in condition from OK to completely rotten. Some of the spot welds
can be pulled apart by hand. |
|
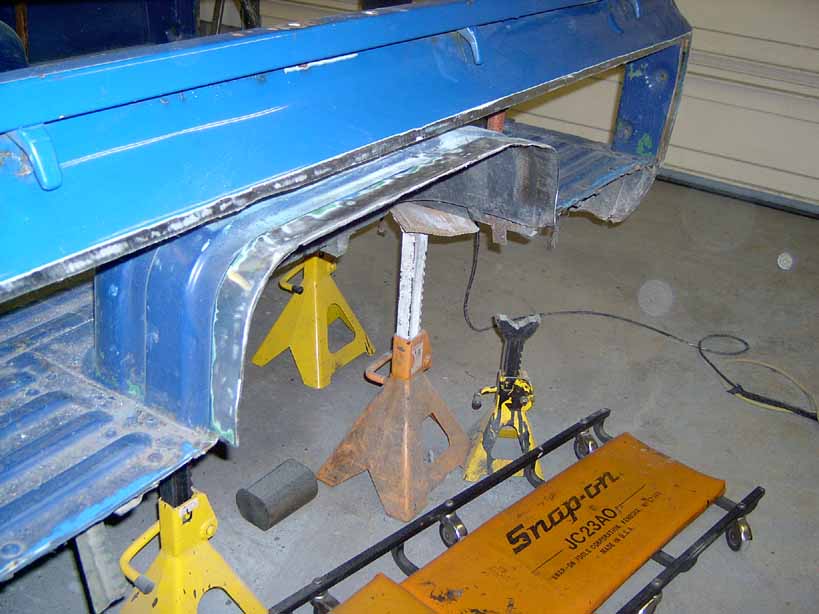
So I decided to cut out all of the factory
flanges where the box sides were spot welded to. The nice thing
about the flanges they would have provided a bit of metal "meat"
around the area that will be welded. This would have acted as
a bit of a heat sink and help to prevent warpage. I guess I'll
just have to be careful. I decided to keep the flange around the
tail lamp housing because it was in OK condition. |
|
If you don't know why I'm making this cut at the fold just
under the box side rail, you need to scroll up about 2 pages
and check out the fit problems with these replacement box side
panels.
Once again, a piece of flat bar is used to obtain a nice straight
cut.
|
|
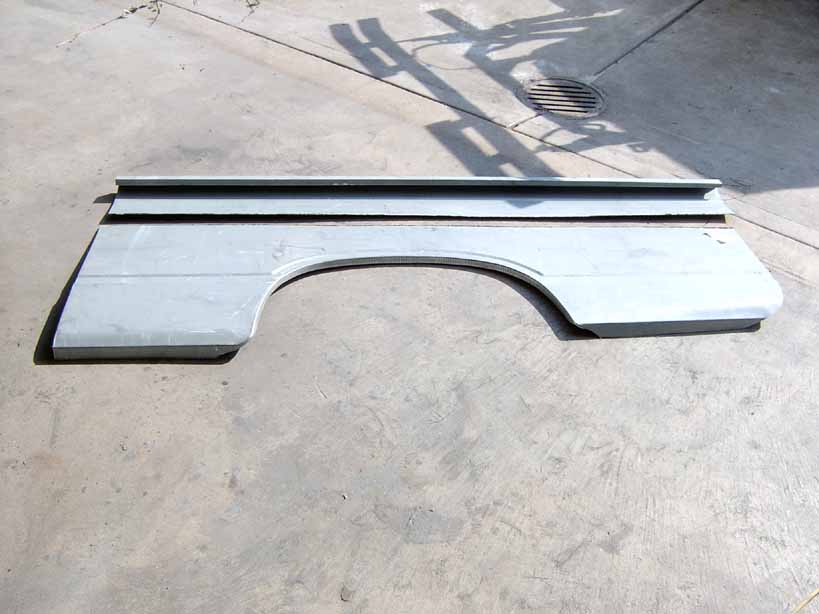
The other panel is cut in the same manner. |
|
The cut panel. |
|
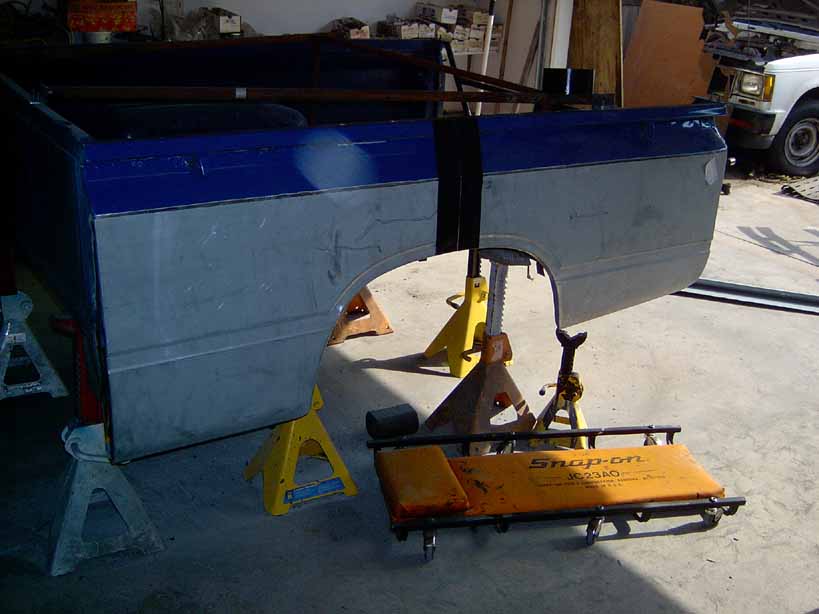
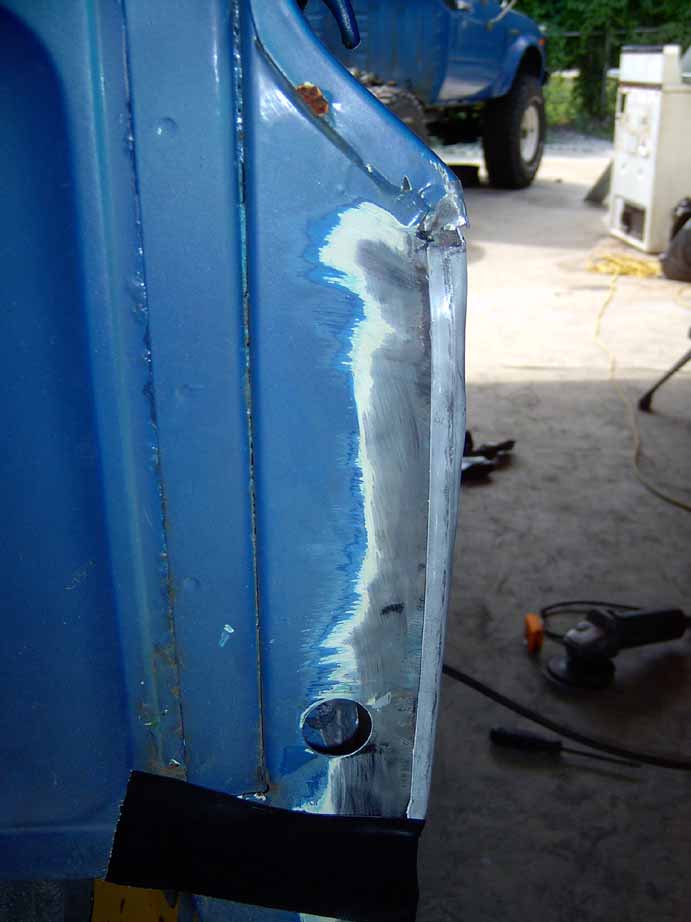
The newly cut box side panel is duct-taped
into position just to check its fit. The replacement box panel
and whats left of the original box side is "fine-tuned"
to fit. A flange tool would have been a useful tool but I've decided
to do it the hard way and butt-weld the panel into place. One
of the reasons I didn't overlap / flange the sides is that I don't
want to risk overlapping a seam in case there is a spot of rust
on the (original) seam that will ... be bad. |
|
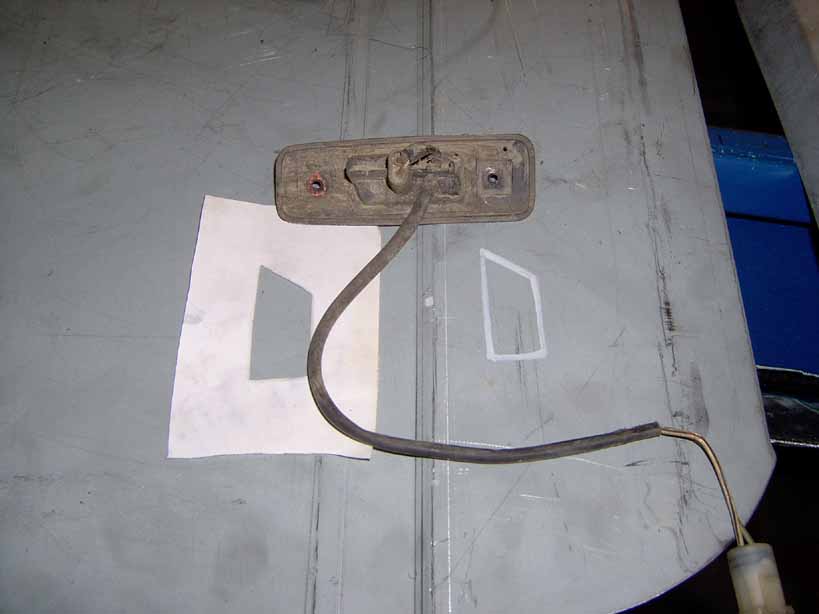
A template is created to cut out the hole
for the rear quarter marker lights. |
|
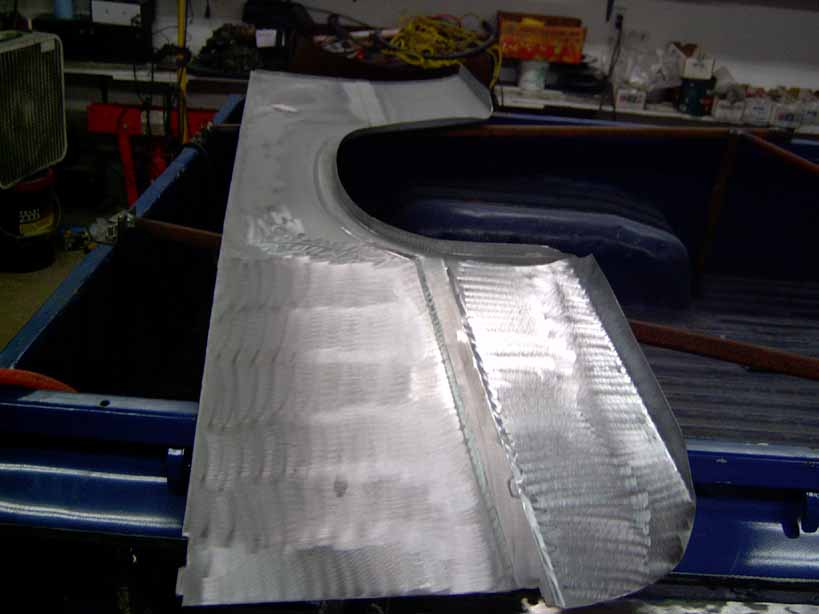
I used a 3" cookie an angle die grinder
to get rid of the factory finish on the replacement box panel.
The replacement panels come with a greyish finish thats easy to
remove. Since I don't know what it is, the safest thing to do
is to get rid of it before priming the panel. |
|
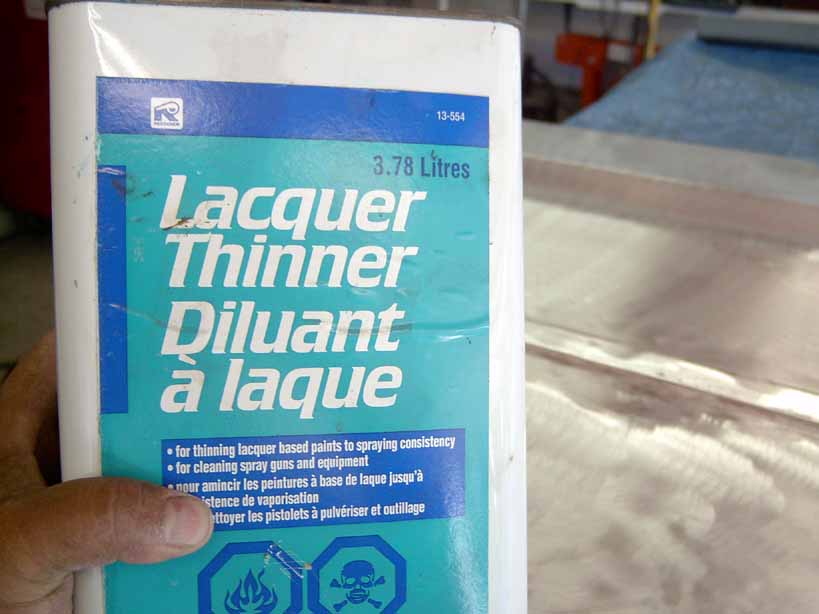
The entire inside of each replacement box
side panel is cleaned up. Lacquer thinner and a lint-free cloth
is used to clean any left over dust and grease from the panels. |
|
First layer: Self-etching primer
Make sure the lacquer thinner is completely dried. Because
this is bare metal, it's a good idea to use a self-etching primer
as the first layer of protection. I'm not entirely convinced
about the need to use self-etching primer since self-etching
primer is a relatively new product and painters got away without
using it for years.
|
|
Second layer: Filler primer.
I didn't need to use filler primer (its expensive). But I decided
to use it so I don't have to buy more stuff.
|
|
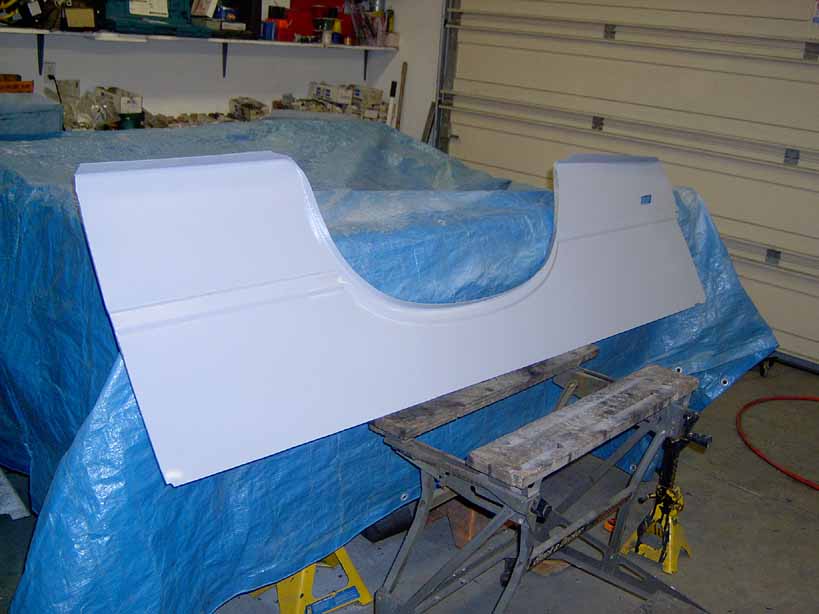
Third layer: Paint
Since this is the inside face of the replacement box panels,
it doesn't matter what color it is.
|
|
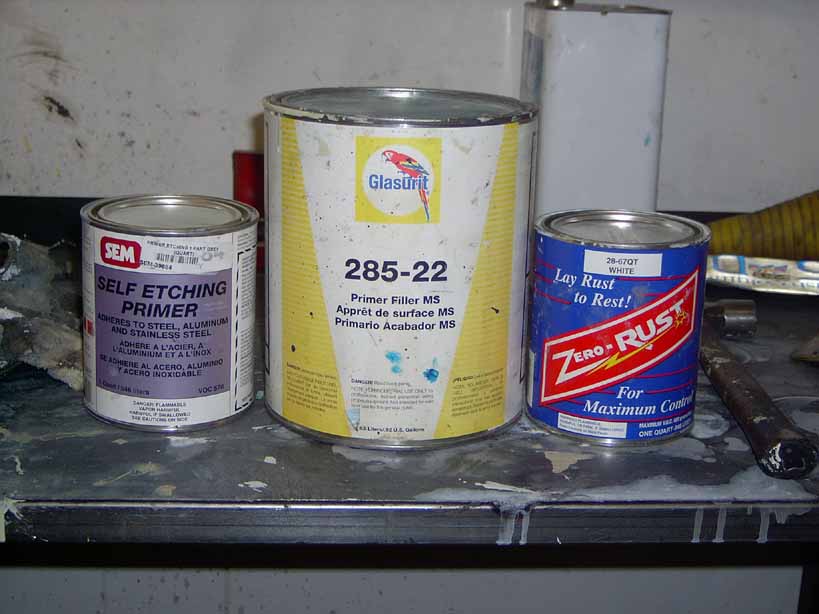
Here's the stuff I used:
First: SEM self-etching primer
Second: Glasruit filler primer
Third: Zero Rust paint
|
|
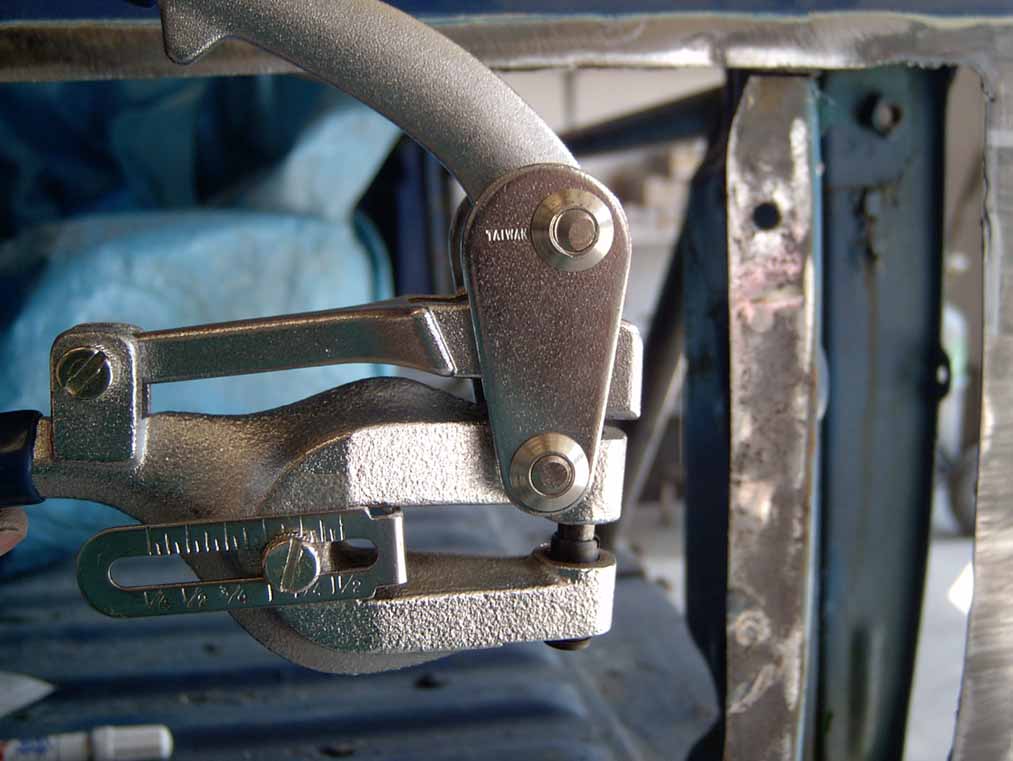
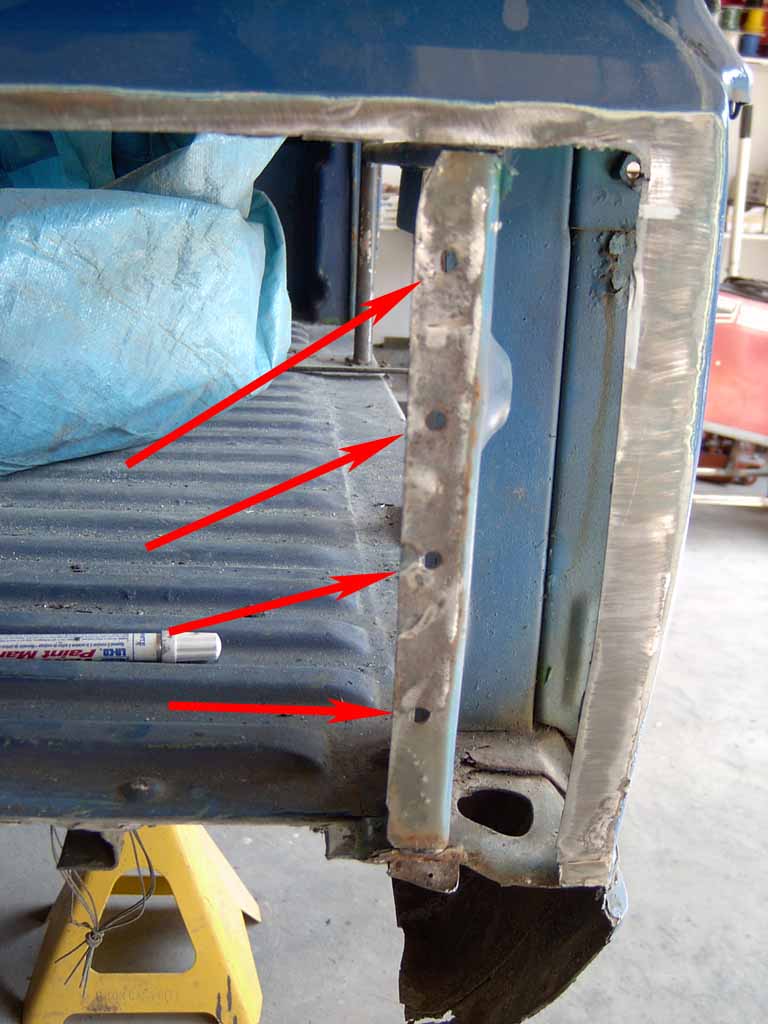
Welding LH Side
A hand held Whitney-style punch is used to punch holes in the
one remaining metal flange.
|
|
Since I don't have a spot welder, I'll be
welding the flange to the replacement box side panel through these
holes. |
|
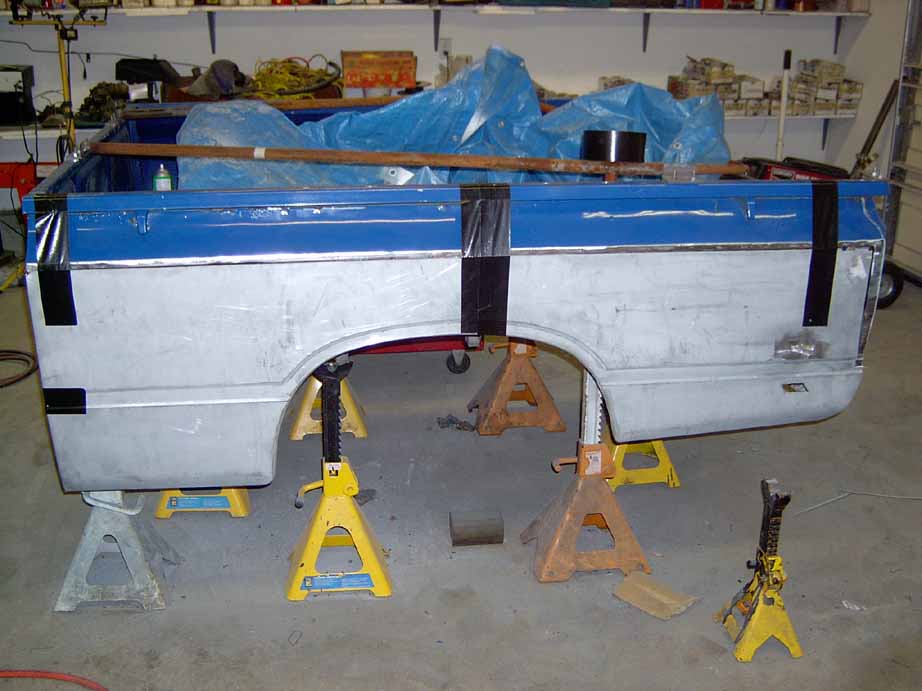
The replacement box side panel is duct taped
into place to check the fit. Final adjustments are made. Then
the panel is tacked in place. |
|
Here's a picture of the left-front side of the box. A hammer
and dolly is used to tighten the fit. Weld-through (zinc) primer
is a good idea to coat the bare metal on the box.
|
|
The replacement box panel is tacked into place.
|