|
Inner
Panel Prep
Again, I had to remove the
outer edge of the box bed because it was rotten. As I mentioned
earlier, there are three pieces of metal sandwiched together at
this location. |
|
Driver side rear quarter:
On hindsight, maybe I should have fabricated a
L-shaped piece so that there is a flange that contacts the replacement
box panel. The advantage of doing that is extra metal around the
flange would have acted as heat sink to prevent the sheet metal
from warping when welding. |
|
Passenger side rear quarter:
Although it would have made life a lot easier,
I didn't do it because I didn't want to overlap / sandwich two
pieces of metal together even though I could have used seam sealer
to seal the two pieces. I decided to T-weld the bed to the replacement
box panel. |
|
Ok, more on T-welding sheet metal later. I
managed to get quite a few tech tips on how to do this without
warping the metal.
The inside replacement box panel is sand-blasted
along the length of the welded seam and wheel well. |
|
.... Same with the other side. The only reason
I'm doing this now is because I'm sick of welding and need to
do something else for a while. |
|
Seam sealer (Pro Form 213) is used to seal
the welded areas. The purpose of sand blasting the area is to
promote good adhesion between the seam sealer and the metal. |
|
Same with the other side. |
|
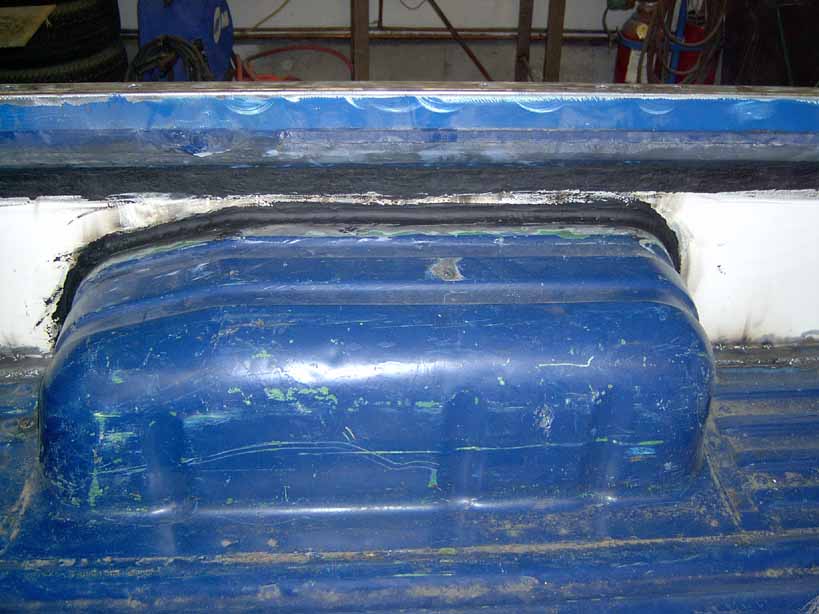
Because of the three-panel sandwich at each
corner of the box, I had to fabricate a new piece (pictured here)
that attaches the bed to each corner of the box side. I could
have just tack-welded this piece to the replacement bed side.
Instead, I decided to weld it solid because the bed sides support
the weight of the box bar and utility rack. |
|
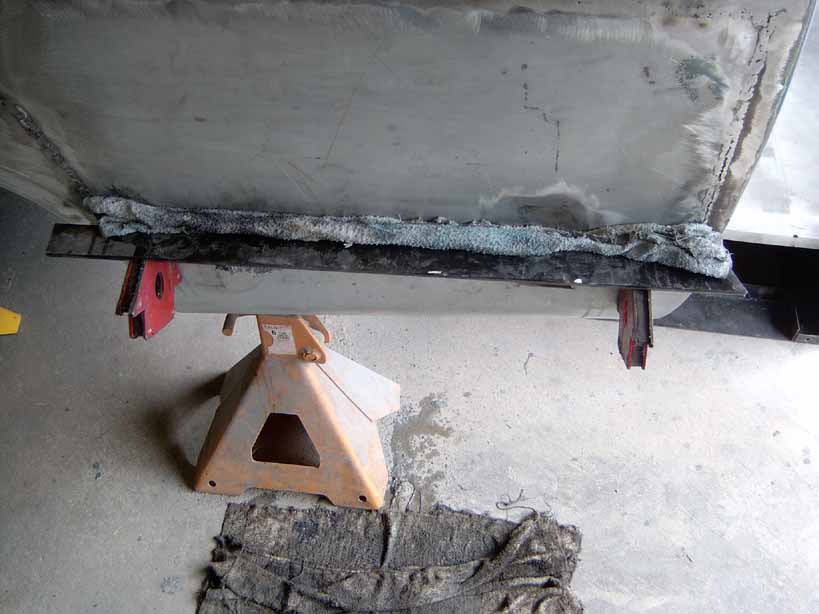
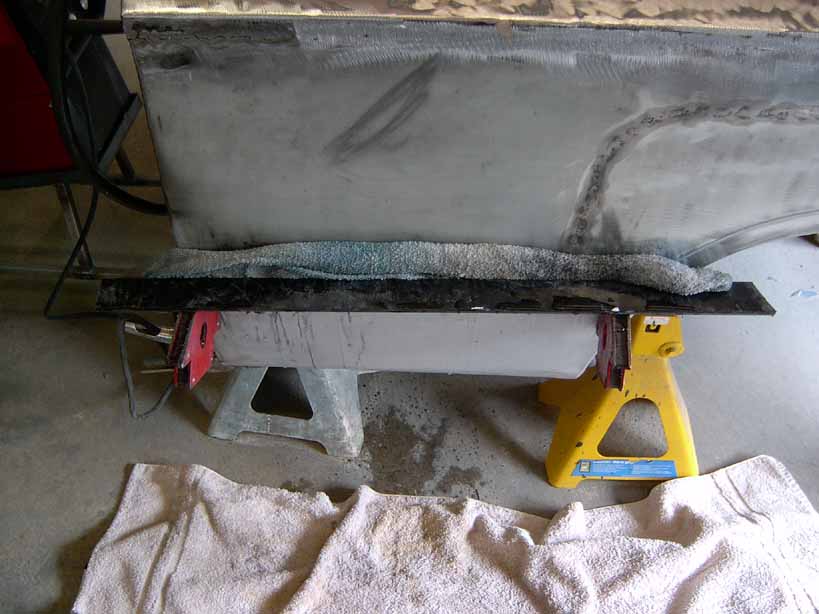
I did the same for all four corners of the
box. Pictured to the left is a wet towel that is held in place
with a metal bar and a couple of magnets. The wet towel acts as
a heat sink and prevents the replacement box side from warping
during welding. The newly fabricated piece of metal (pictured
here) is T-welded
to the replacement box side. |
|
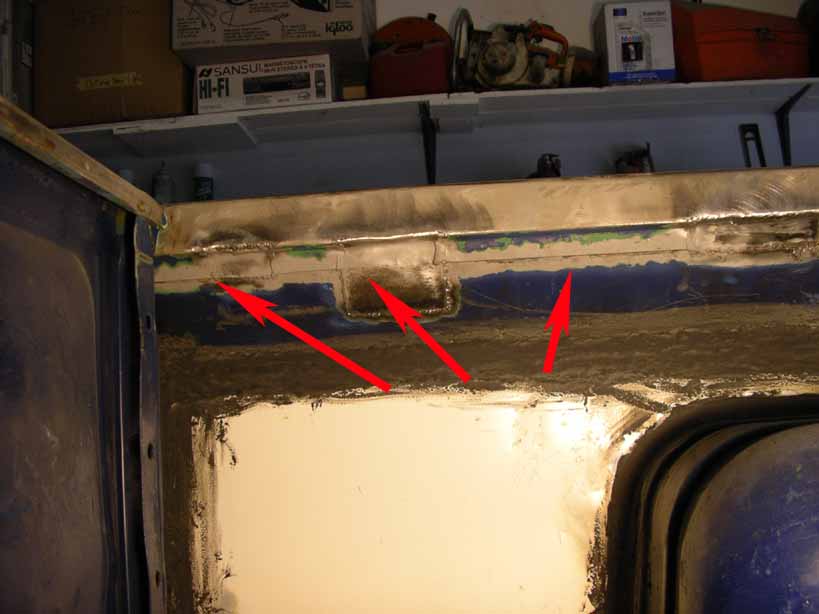
Here is a picture of the finished welds. There
is almost no metal warpage. Welding tip: when you're T-welding
sheet metal pieces, try to minimize the amount of filler metal
(wire) in your weld pool. Less filler metal = less heat = less
warpage |
|
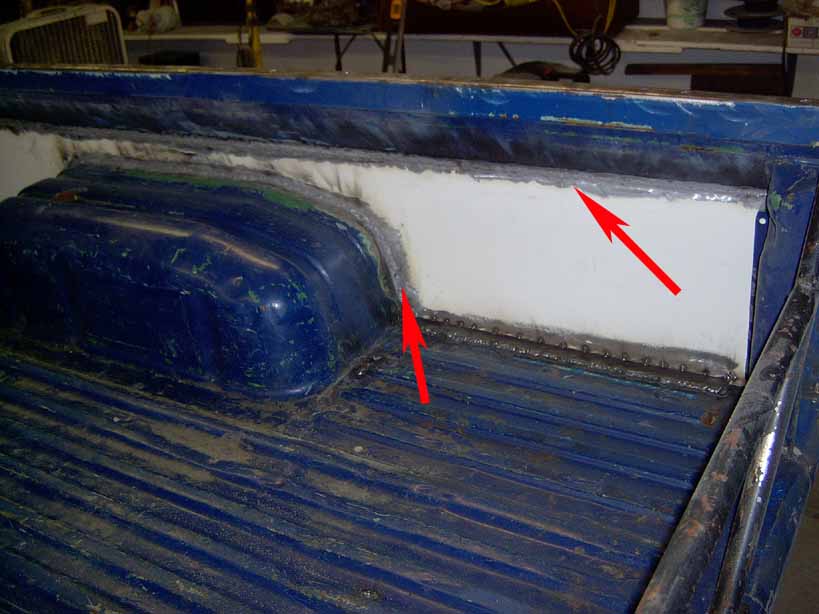
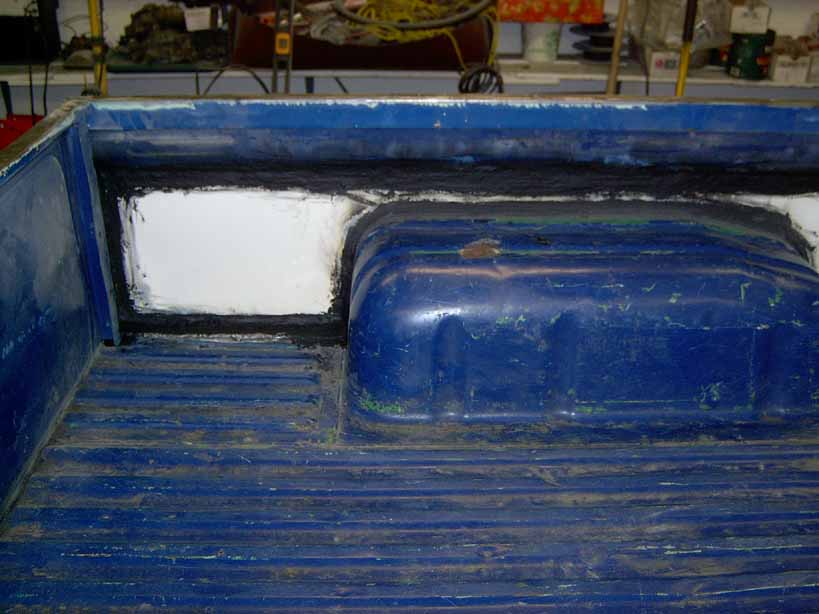
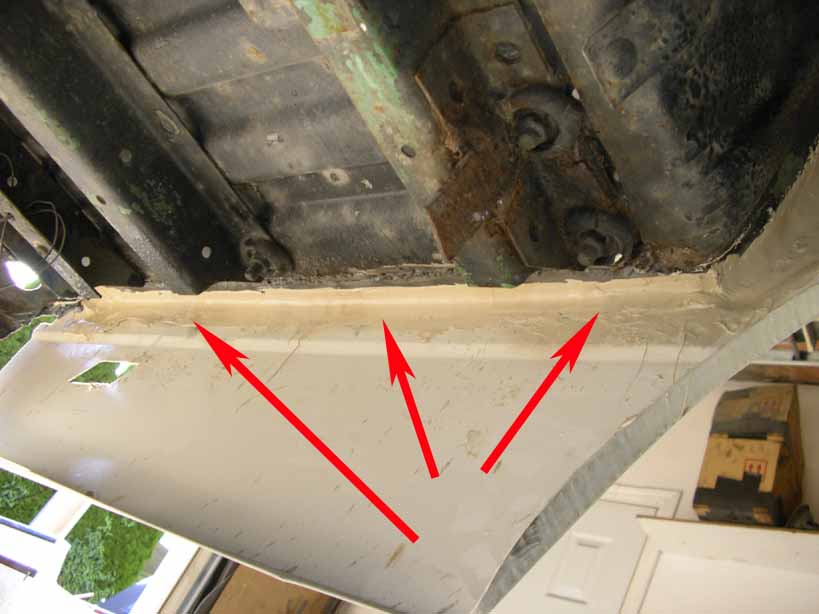
A picture of the left rear box corner.
All of the seams are sand-blasted and then covered with seam
sealer (Pro Form #213). Perhaps I didn't need to use seam sealer
because there is no overlapped metal or flanges. All of the
welds are either a butt-weld or T-weld.
|
|
... A picture of the right front box corner. |
|
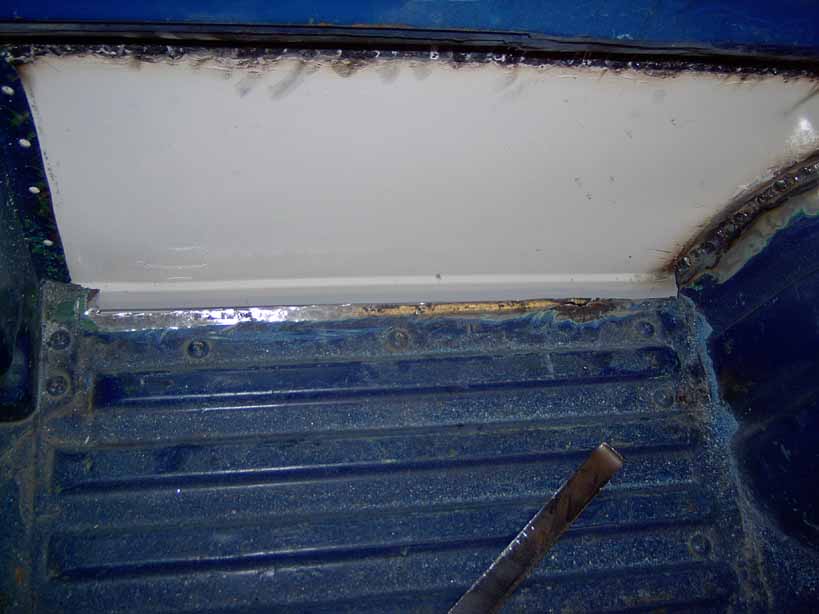
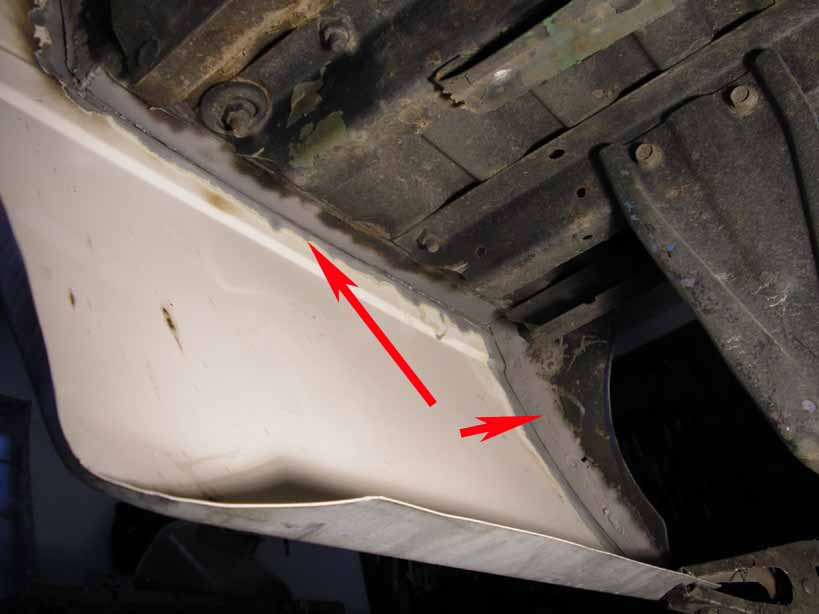
The seam between the underside of the bed
and the box side is sand blasted. |
|
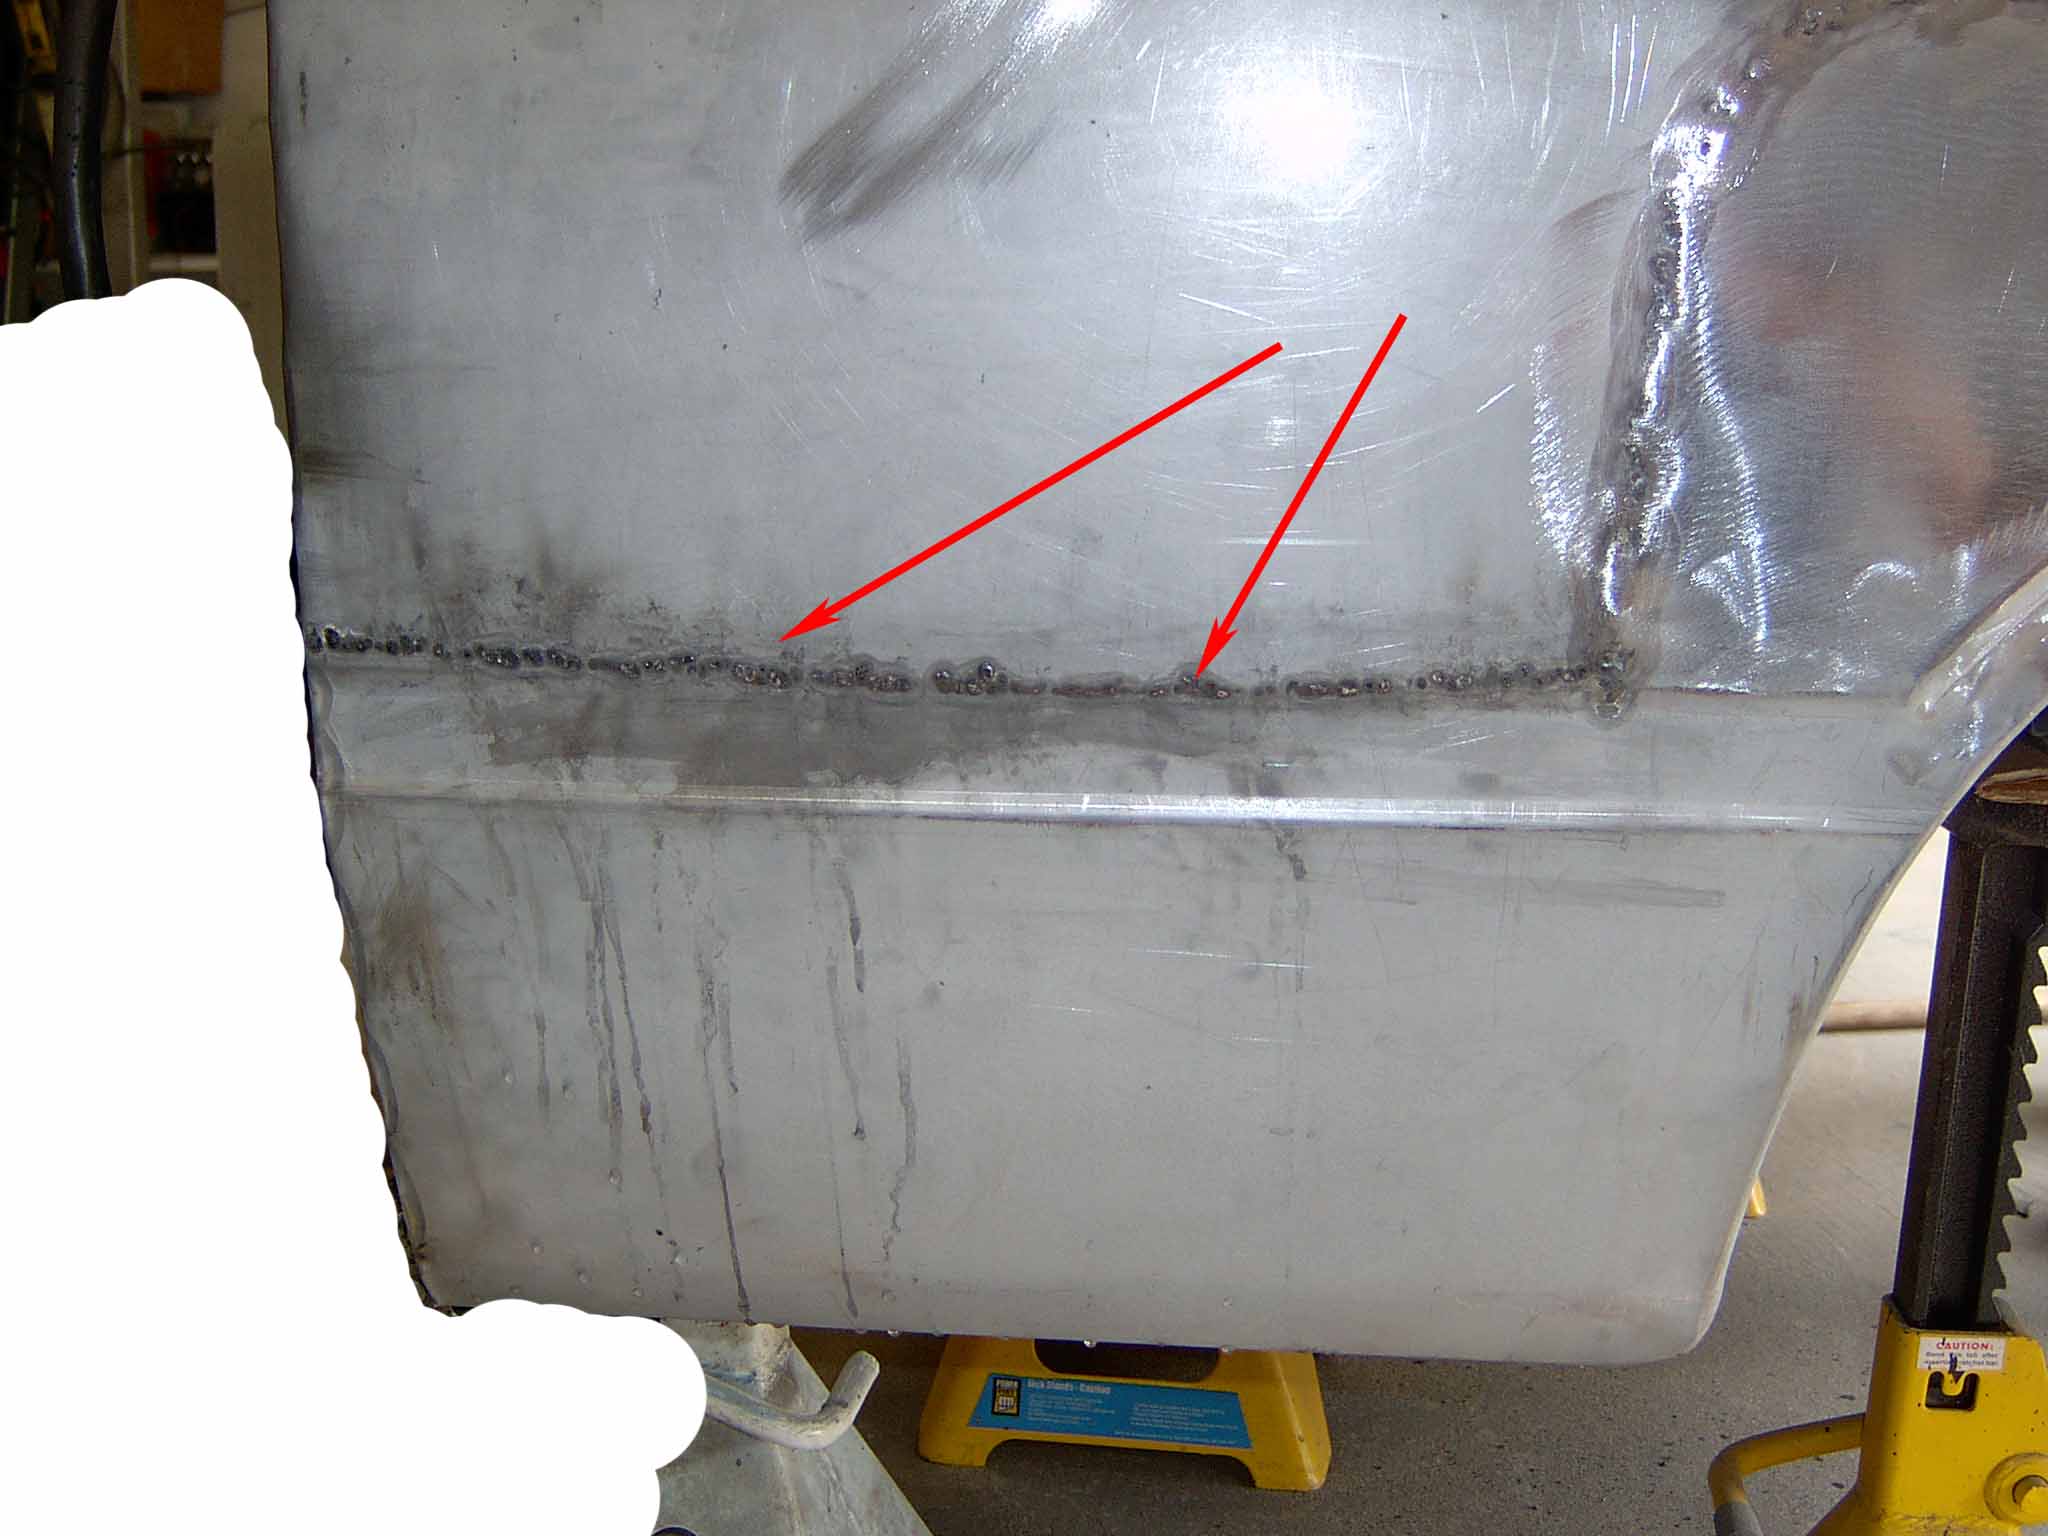
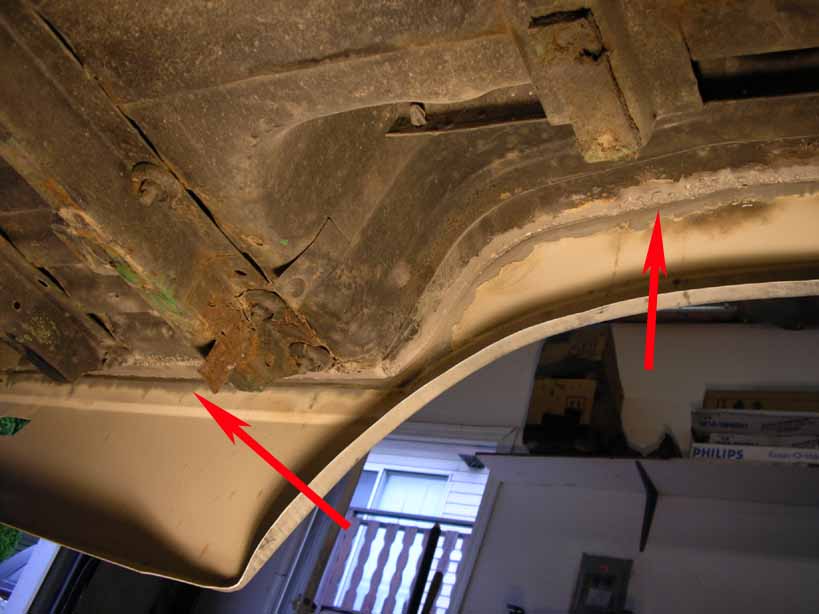
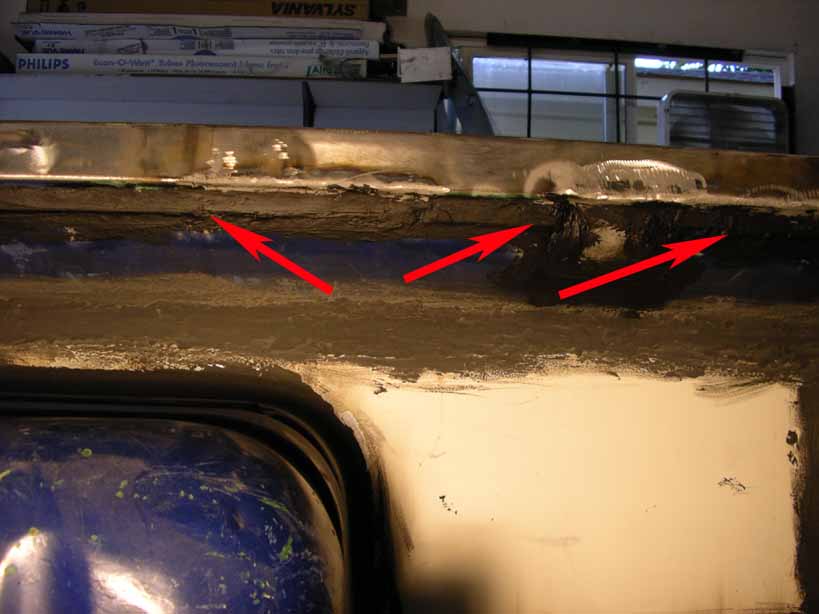
Same with the other side. Notice the gap that
the arrow is pointing to. The original box side has a concave
curvature at this location that matches the convave curvature
on the cab and door. The replacement box panel doesn't have it.
Don't force the replacement box panel to conform to original shape
of the factory box panel! It won't work and you'll end up using
a lot of body filler! |
|
Ok, more sand blasting to remove paint, weld-thru
burns, and other debris. I could have just wire wheel'd it but
sand blasting is the best treatment. |
|
.... And more sand blasting on the left front
of the box below the box bed. |
|
Seam sealer (this time I used Pro-Form 213
instead of 207) is applied to all the sand-blasted areas. Pictured
to the left is the right side wheel well. |
|
The left rear wheel well. |
|
Right front. |
|
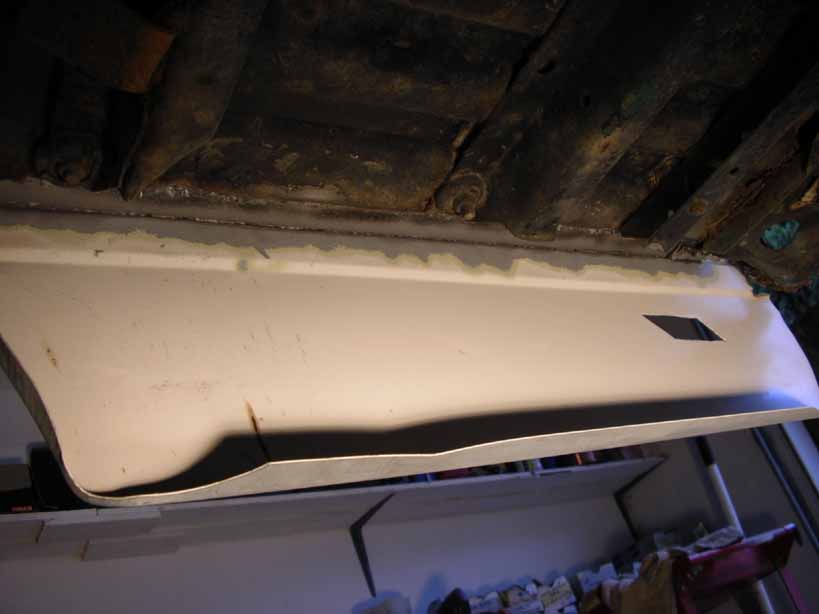
Here's more inner panel prep: The factory
box side is spot welded to a flange on the box rail. This area
is also a problem. All of the original seam sealer is removed
and the area is sand blasted. |
|
Seam sealer (Pro Form 207 is applied along
the entire length of the box rail where the box rail flanges attaches
to the box side. |