|
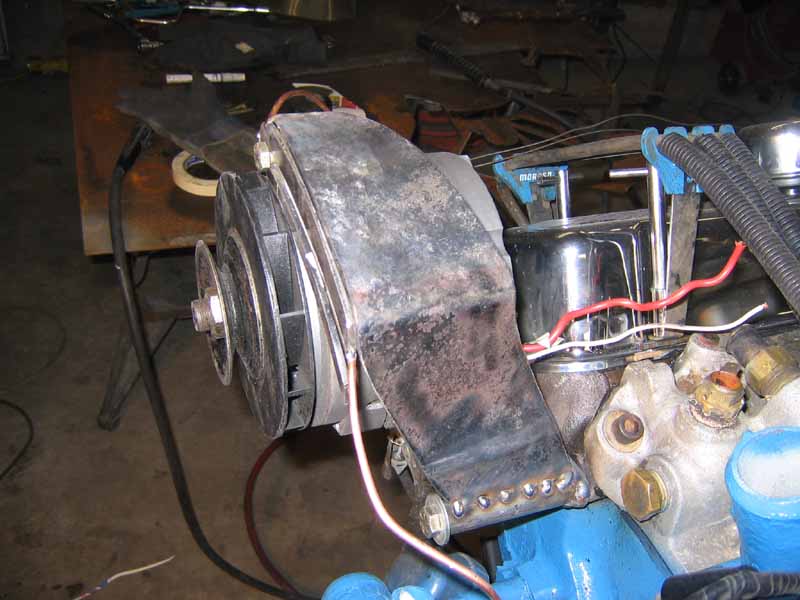
The old 40A Toyota alternator
is swapped out in favor of a 100A GM SI alternator. |
|
The alternator bracket fab starts with the
part of the bracket that bolts to the left cylinder head. |
|
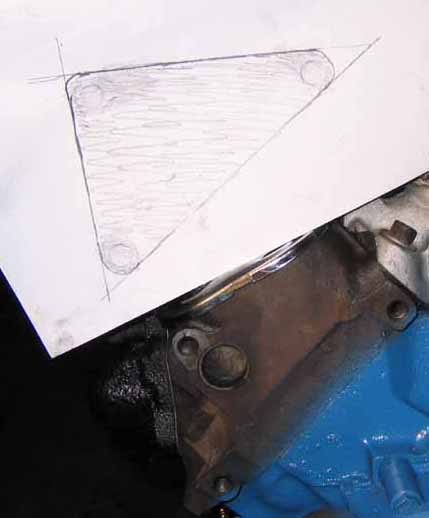
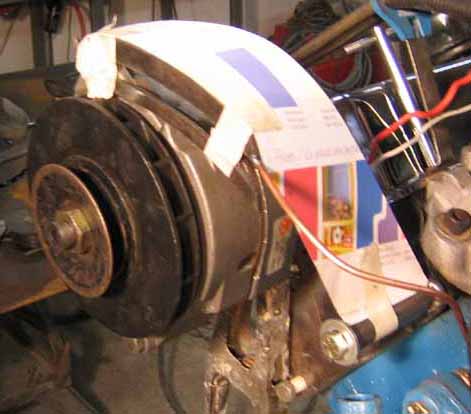
I used a piece of computer printer paper to
trace the outline of the three threaded holes in the cylinder
head. Then I used a ruler to draw an outline of the bracket around
the three holes. |
|
The finished piece: alternator bracket base
that bolts onto the cylinder head, the rest of the alternator
bracket will be built onto this piece. |
|
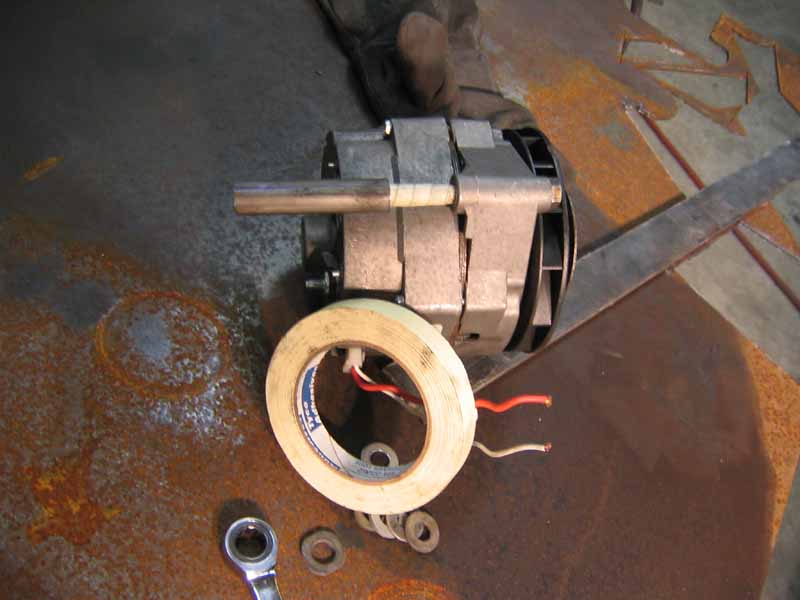
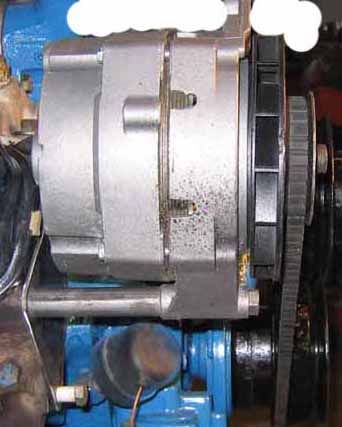
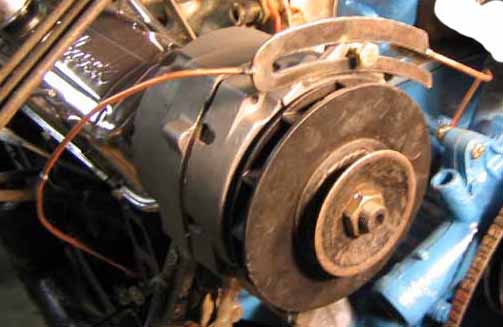
The GM SI one-wire alternator. 100A, internal
regulator. |
|
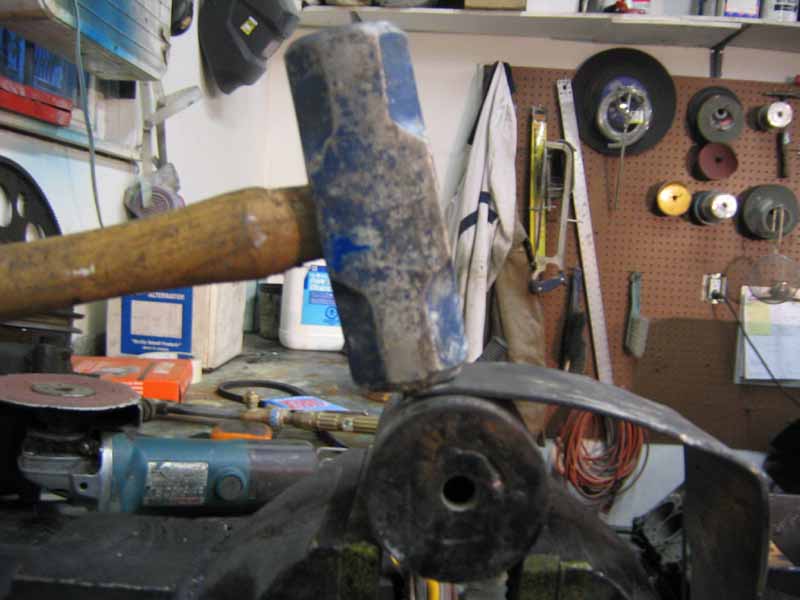
A piece of 1/2" pipe is measured, cut
and welded onto the bracket base. The alternator is mounted so
the next piece can be measured. |
|
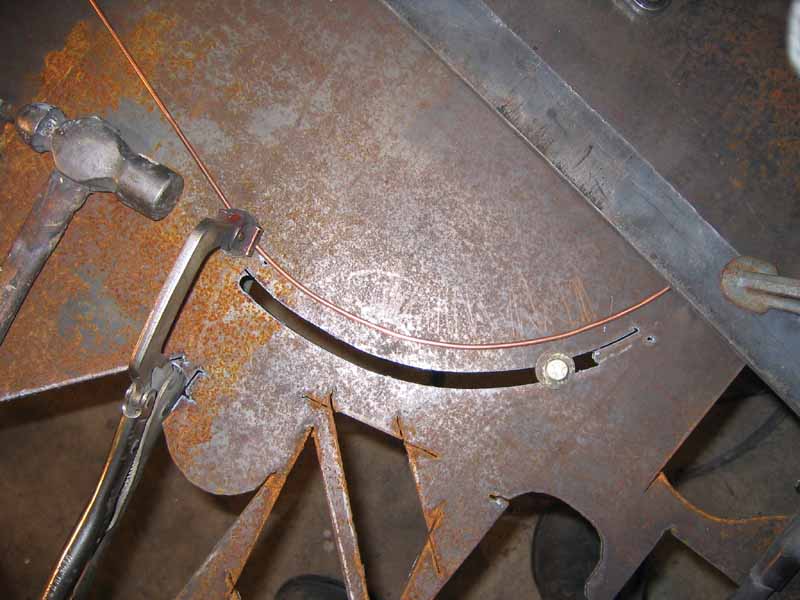
Ok, this is a tricky piece to make: fabricating
the curved part of the bracket. I started by using a piece of
welding rod shaped to the curve of the piece I needed to make. |
|
Using the curved welding rod as a template,
I can cut the exact curvature I need from a piece of sheet stock.
|
|
Done. |
|
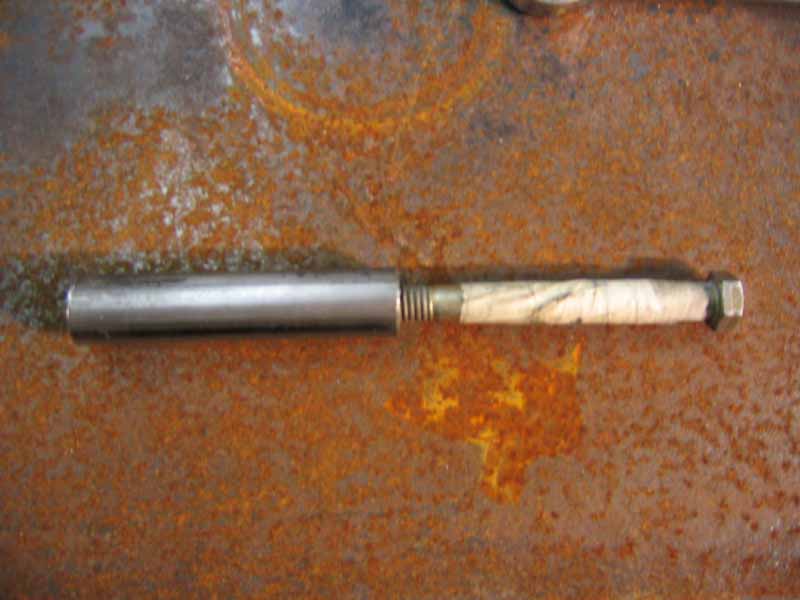
Heres a quick tip: when you're building a
bracket, it's always a good idea to center the bolt to the bracket
as you build the bracket. If you don't do this, the bracket may
be slightly off center and you'll likely have to enlarge the bolt
hole of the bracket to make it fit. Enlarging bolt holes after
you build the bracket is simply sloppy workmanship. Theres a couple
of easy ways to do this, one of them is to tape up the bolt while
you work on the bracket. This helps to center the bracket to the
bolts. |
|
The curved piece is held in place by more
welding wire. |
|
A cardboard template is trimmed to the shape
I need to make. |
|
An old body mount is used to shape the new
piece. |
|
The new piece is tacked into place. |
|
... a front view. |
|
Welded in place and grinded. |
|
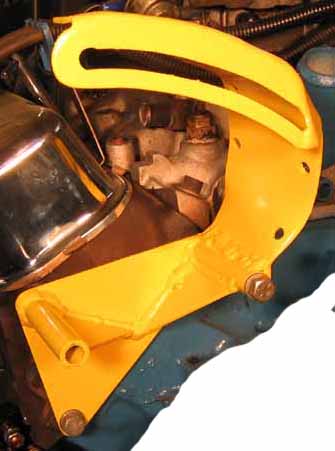
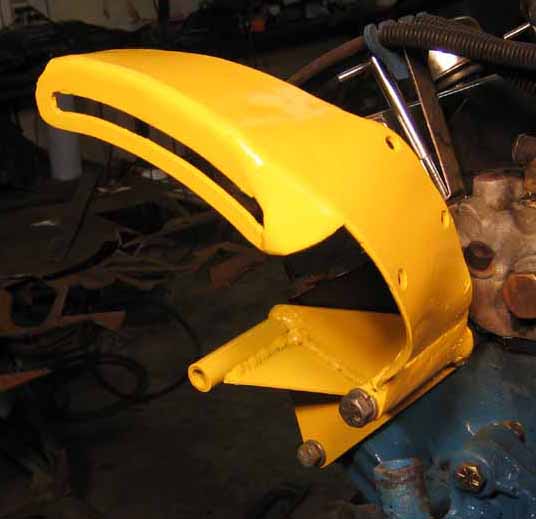
Once again, anything I custom design and make
.... |
|
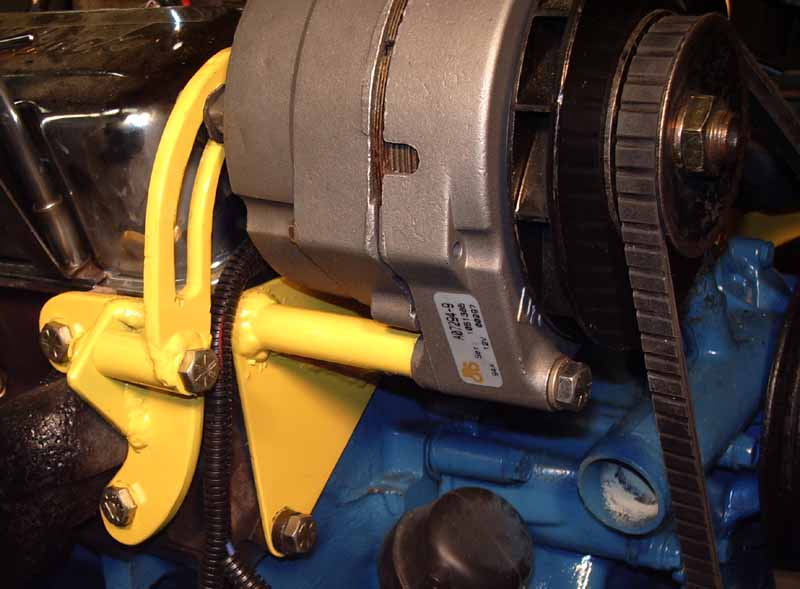
.... is painted yellow. |
|
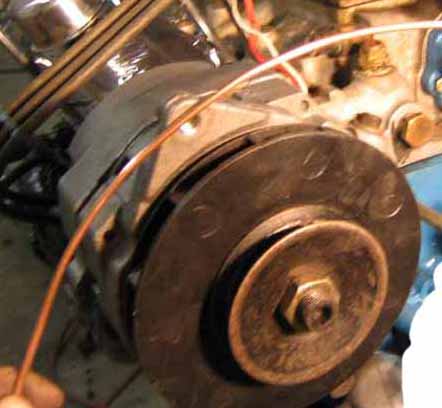
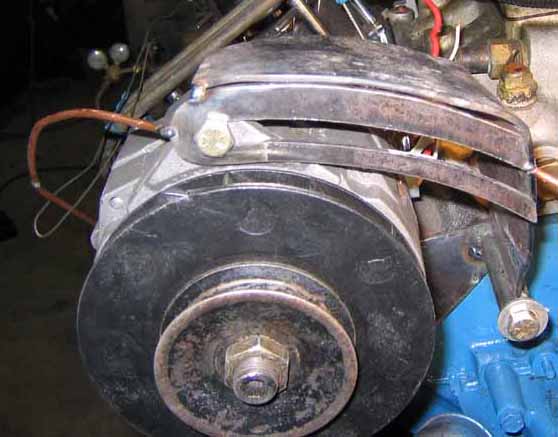
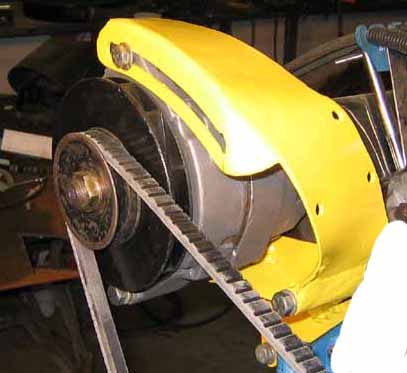
Heres a look with the alternator mounted. |
|
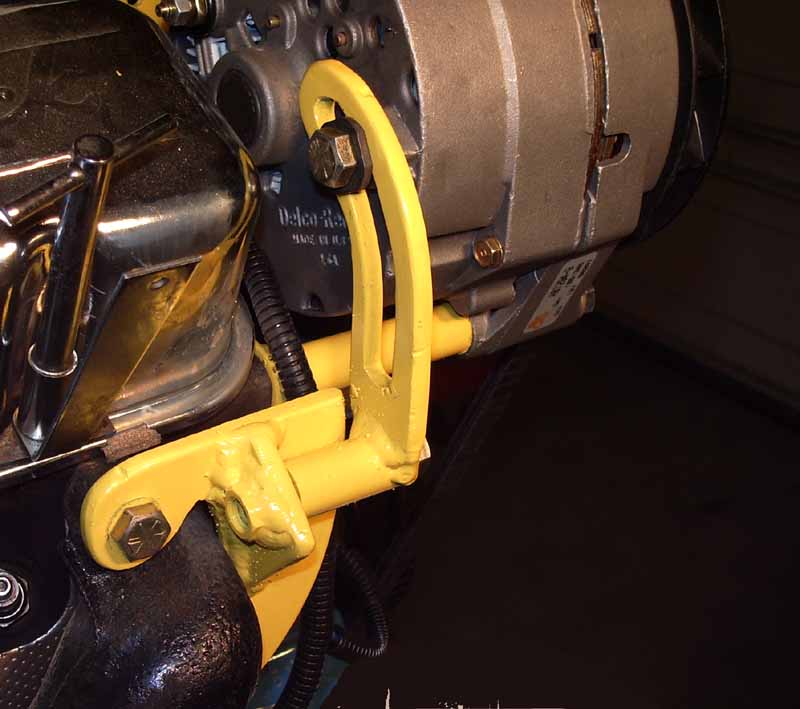
Additional fabricating and bracing. This was
pretty straight forward. It was simply a case of creating a cardboard
template and using it to manufacture the piece I needed. |
|
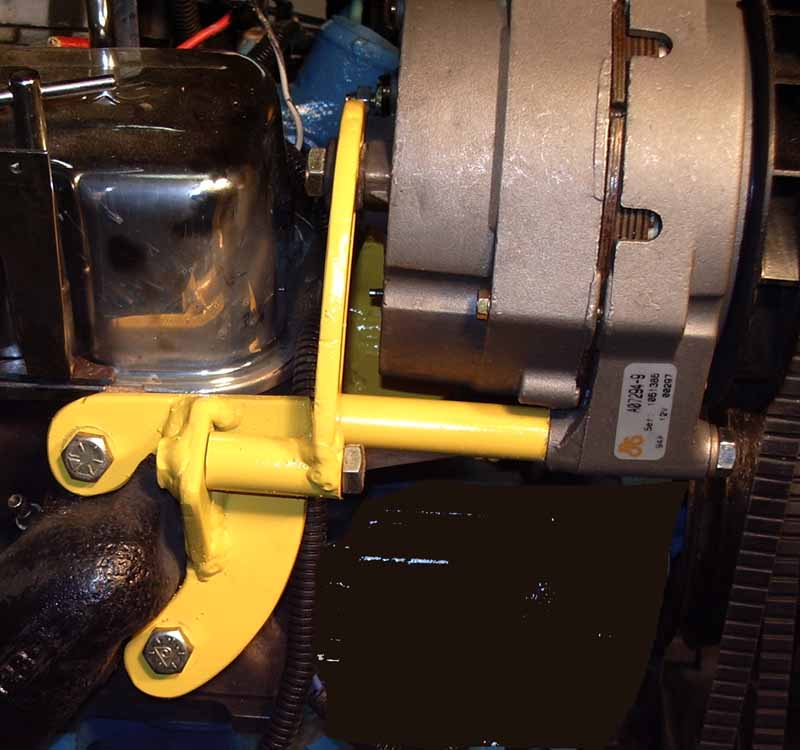
Another trick: again, it's a good idea to
center the bracket bolt holes so you don't fabricate the bracket
with the bolts too close to one side. If this happens, you will
find the bracket is hard to line up when you try to install it.
Its kind of hard to use tape (as described above) in this case
since the bolt doesn't go through a sleeve. |
|
You can simply hold the bracket in place and
tighten the bolts so they are centered in the bracket bolt holes
- that works (sometimes). But another way is to only drill the
bolt holes to EXACTLY the size of the bolts - measure carefully.
Mount the bracket and finish your fabrication. When you are done,
you can re-drill the bracket holes 1/32" larger in diameter
and there you have it, the bracket will be centered. |